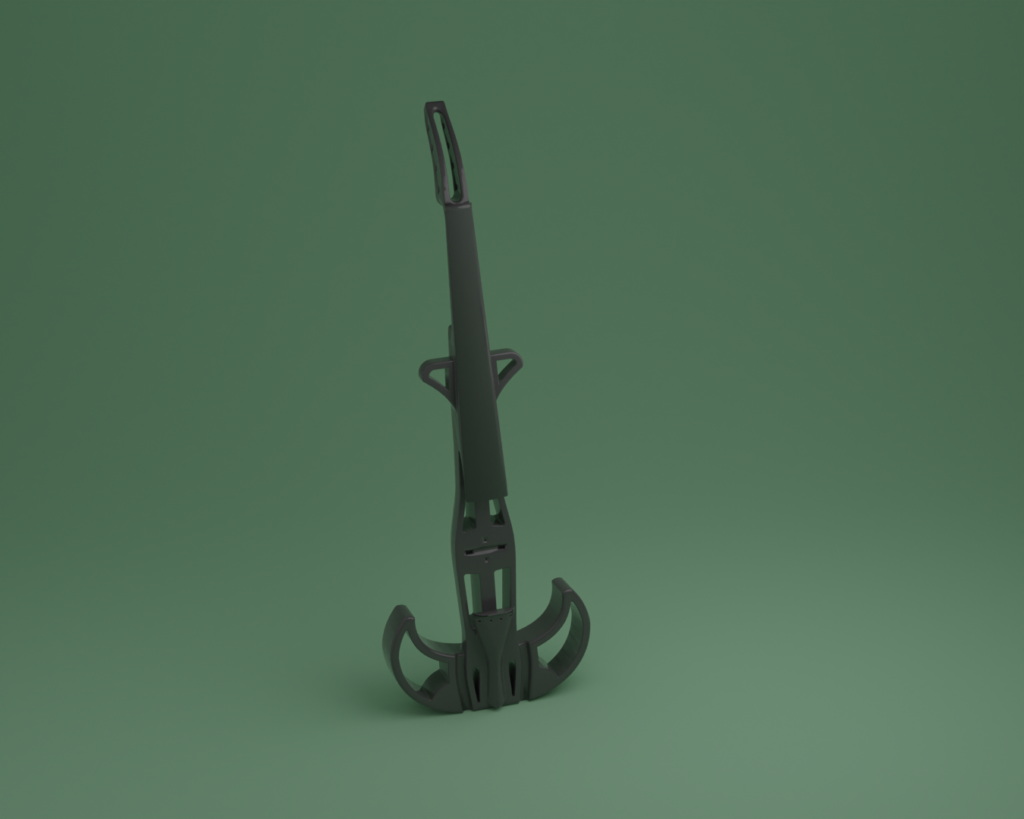
sls electric violin
Completed in February of 2023
This violin was designed for two purposes:
- As a Christmas gift for my younger brother, Daniel, who is an avid musician in my hometown’s high school orchestra.
- As a cost-effective alternative to traditional violins. The 3rd Generation of the violin is roughly $60 to build (without pickups), while an electric equivalent is roughly $140. I hope this will make music more accessible to students in the future!
all of my modeling was done in Solidworks and it is completely finished for FDM and SLS printing alongside being fully playable and capable of being rigged with pickups!
It was also ranked as an honorary mention in the musical instruments competition on printable.com!

4th Generation (SLS Version + Upgraded)
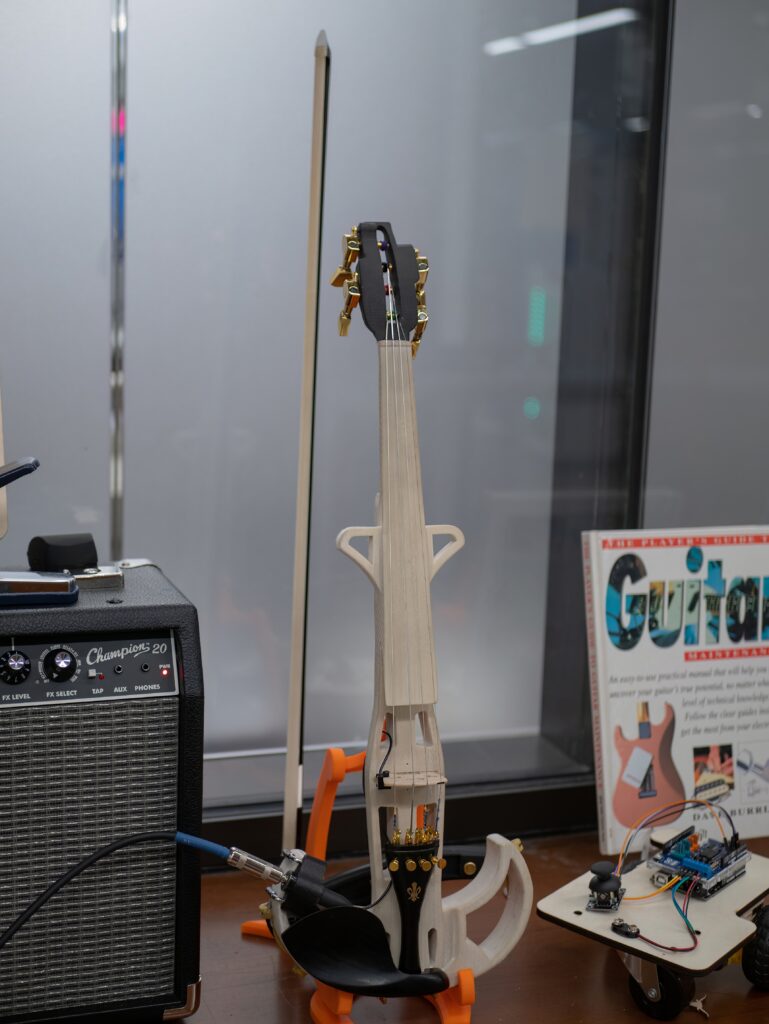
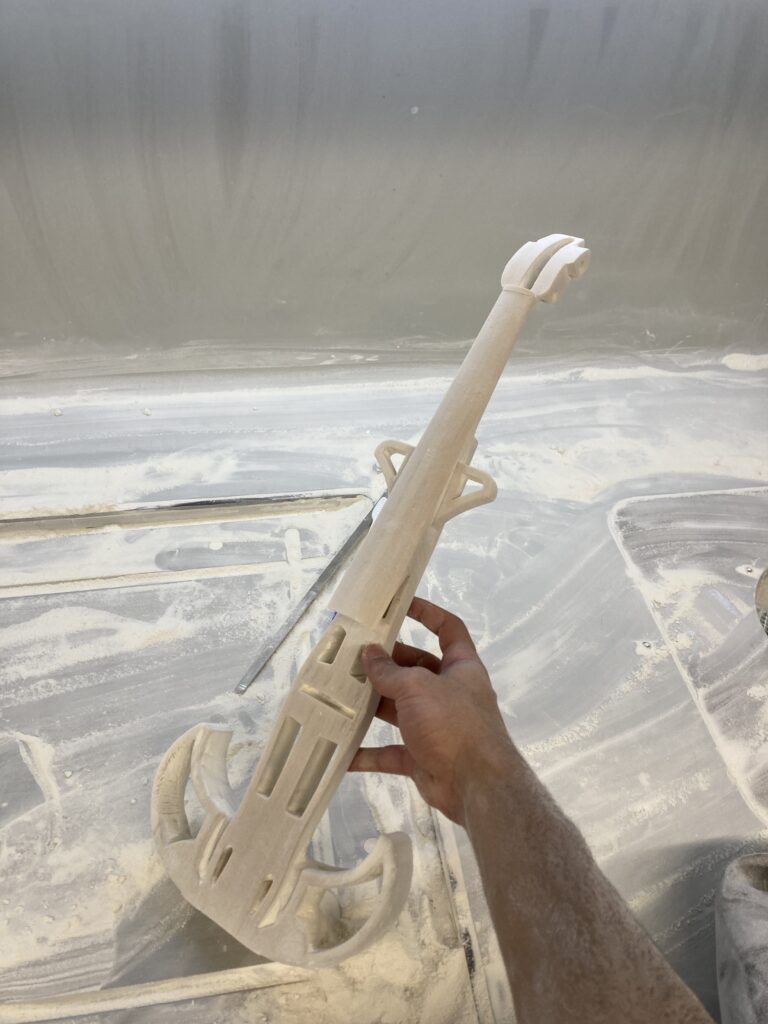
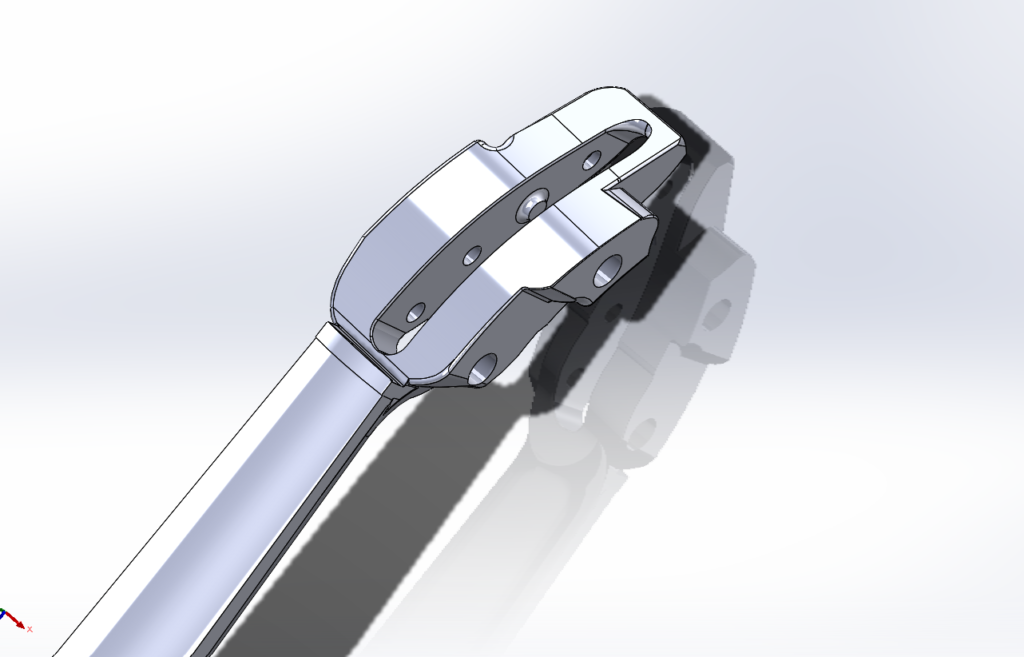
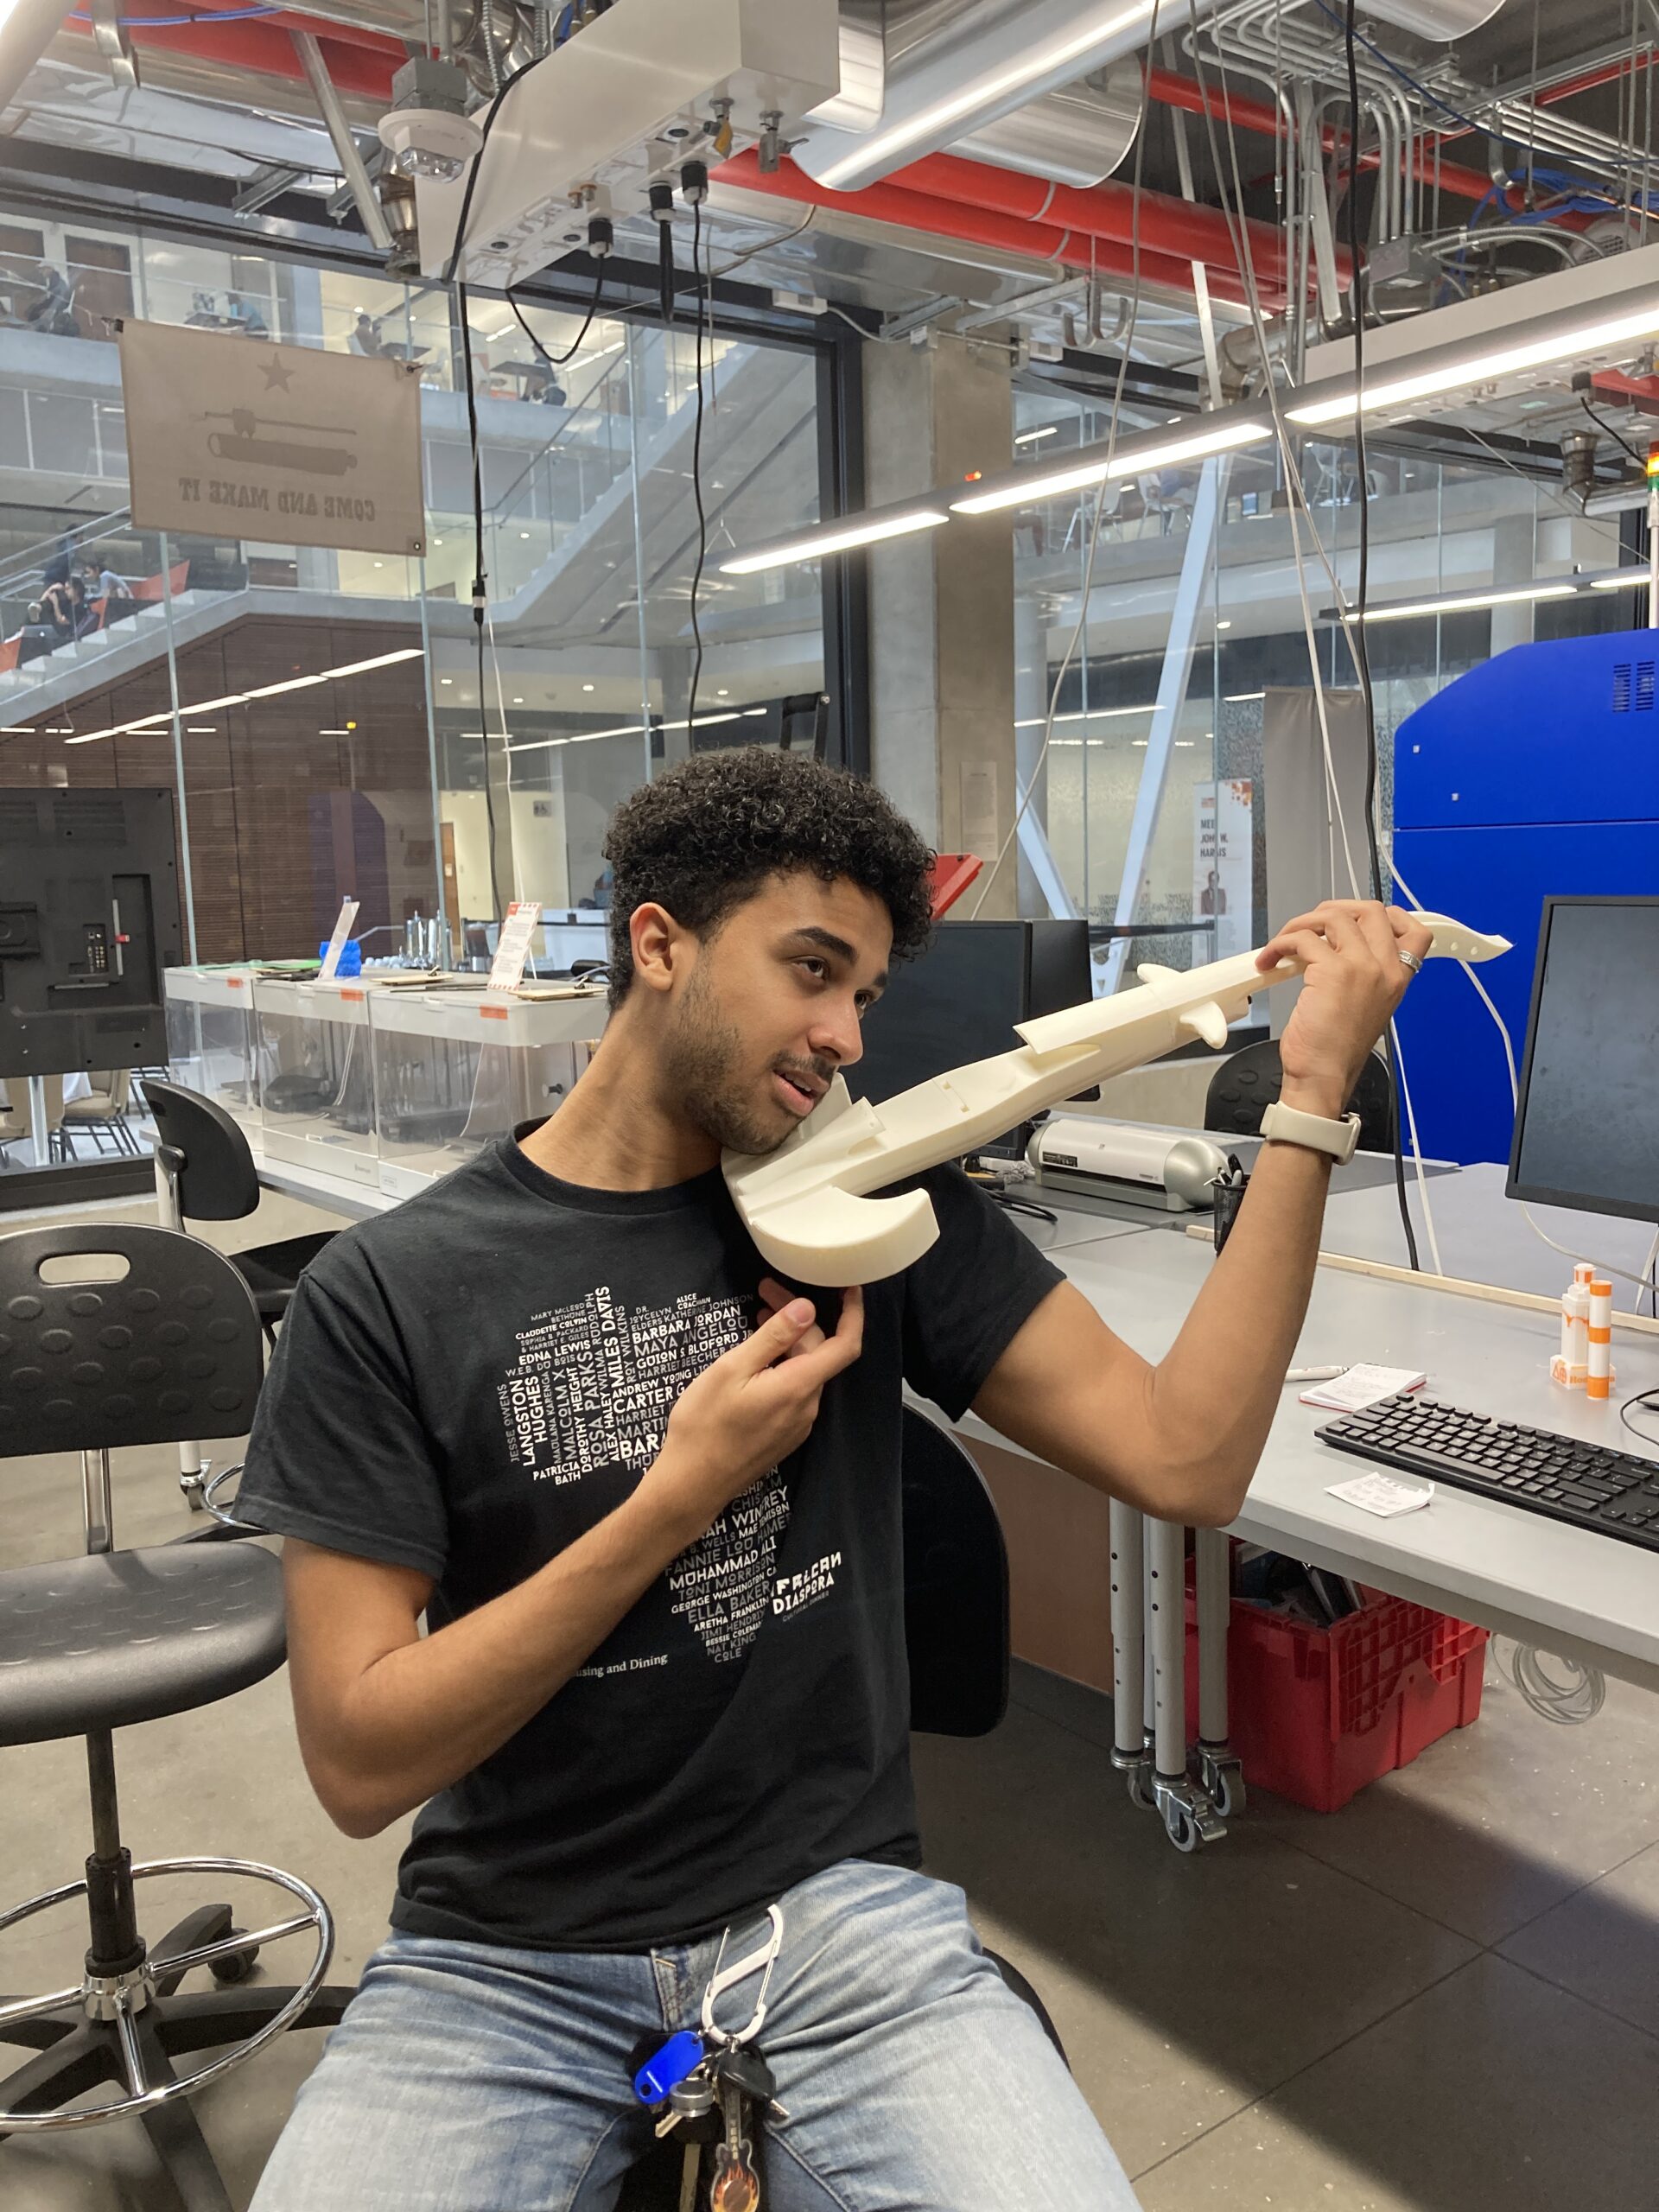
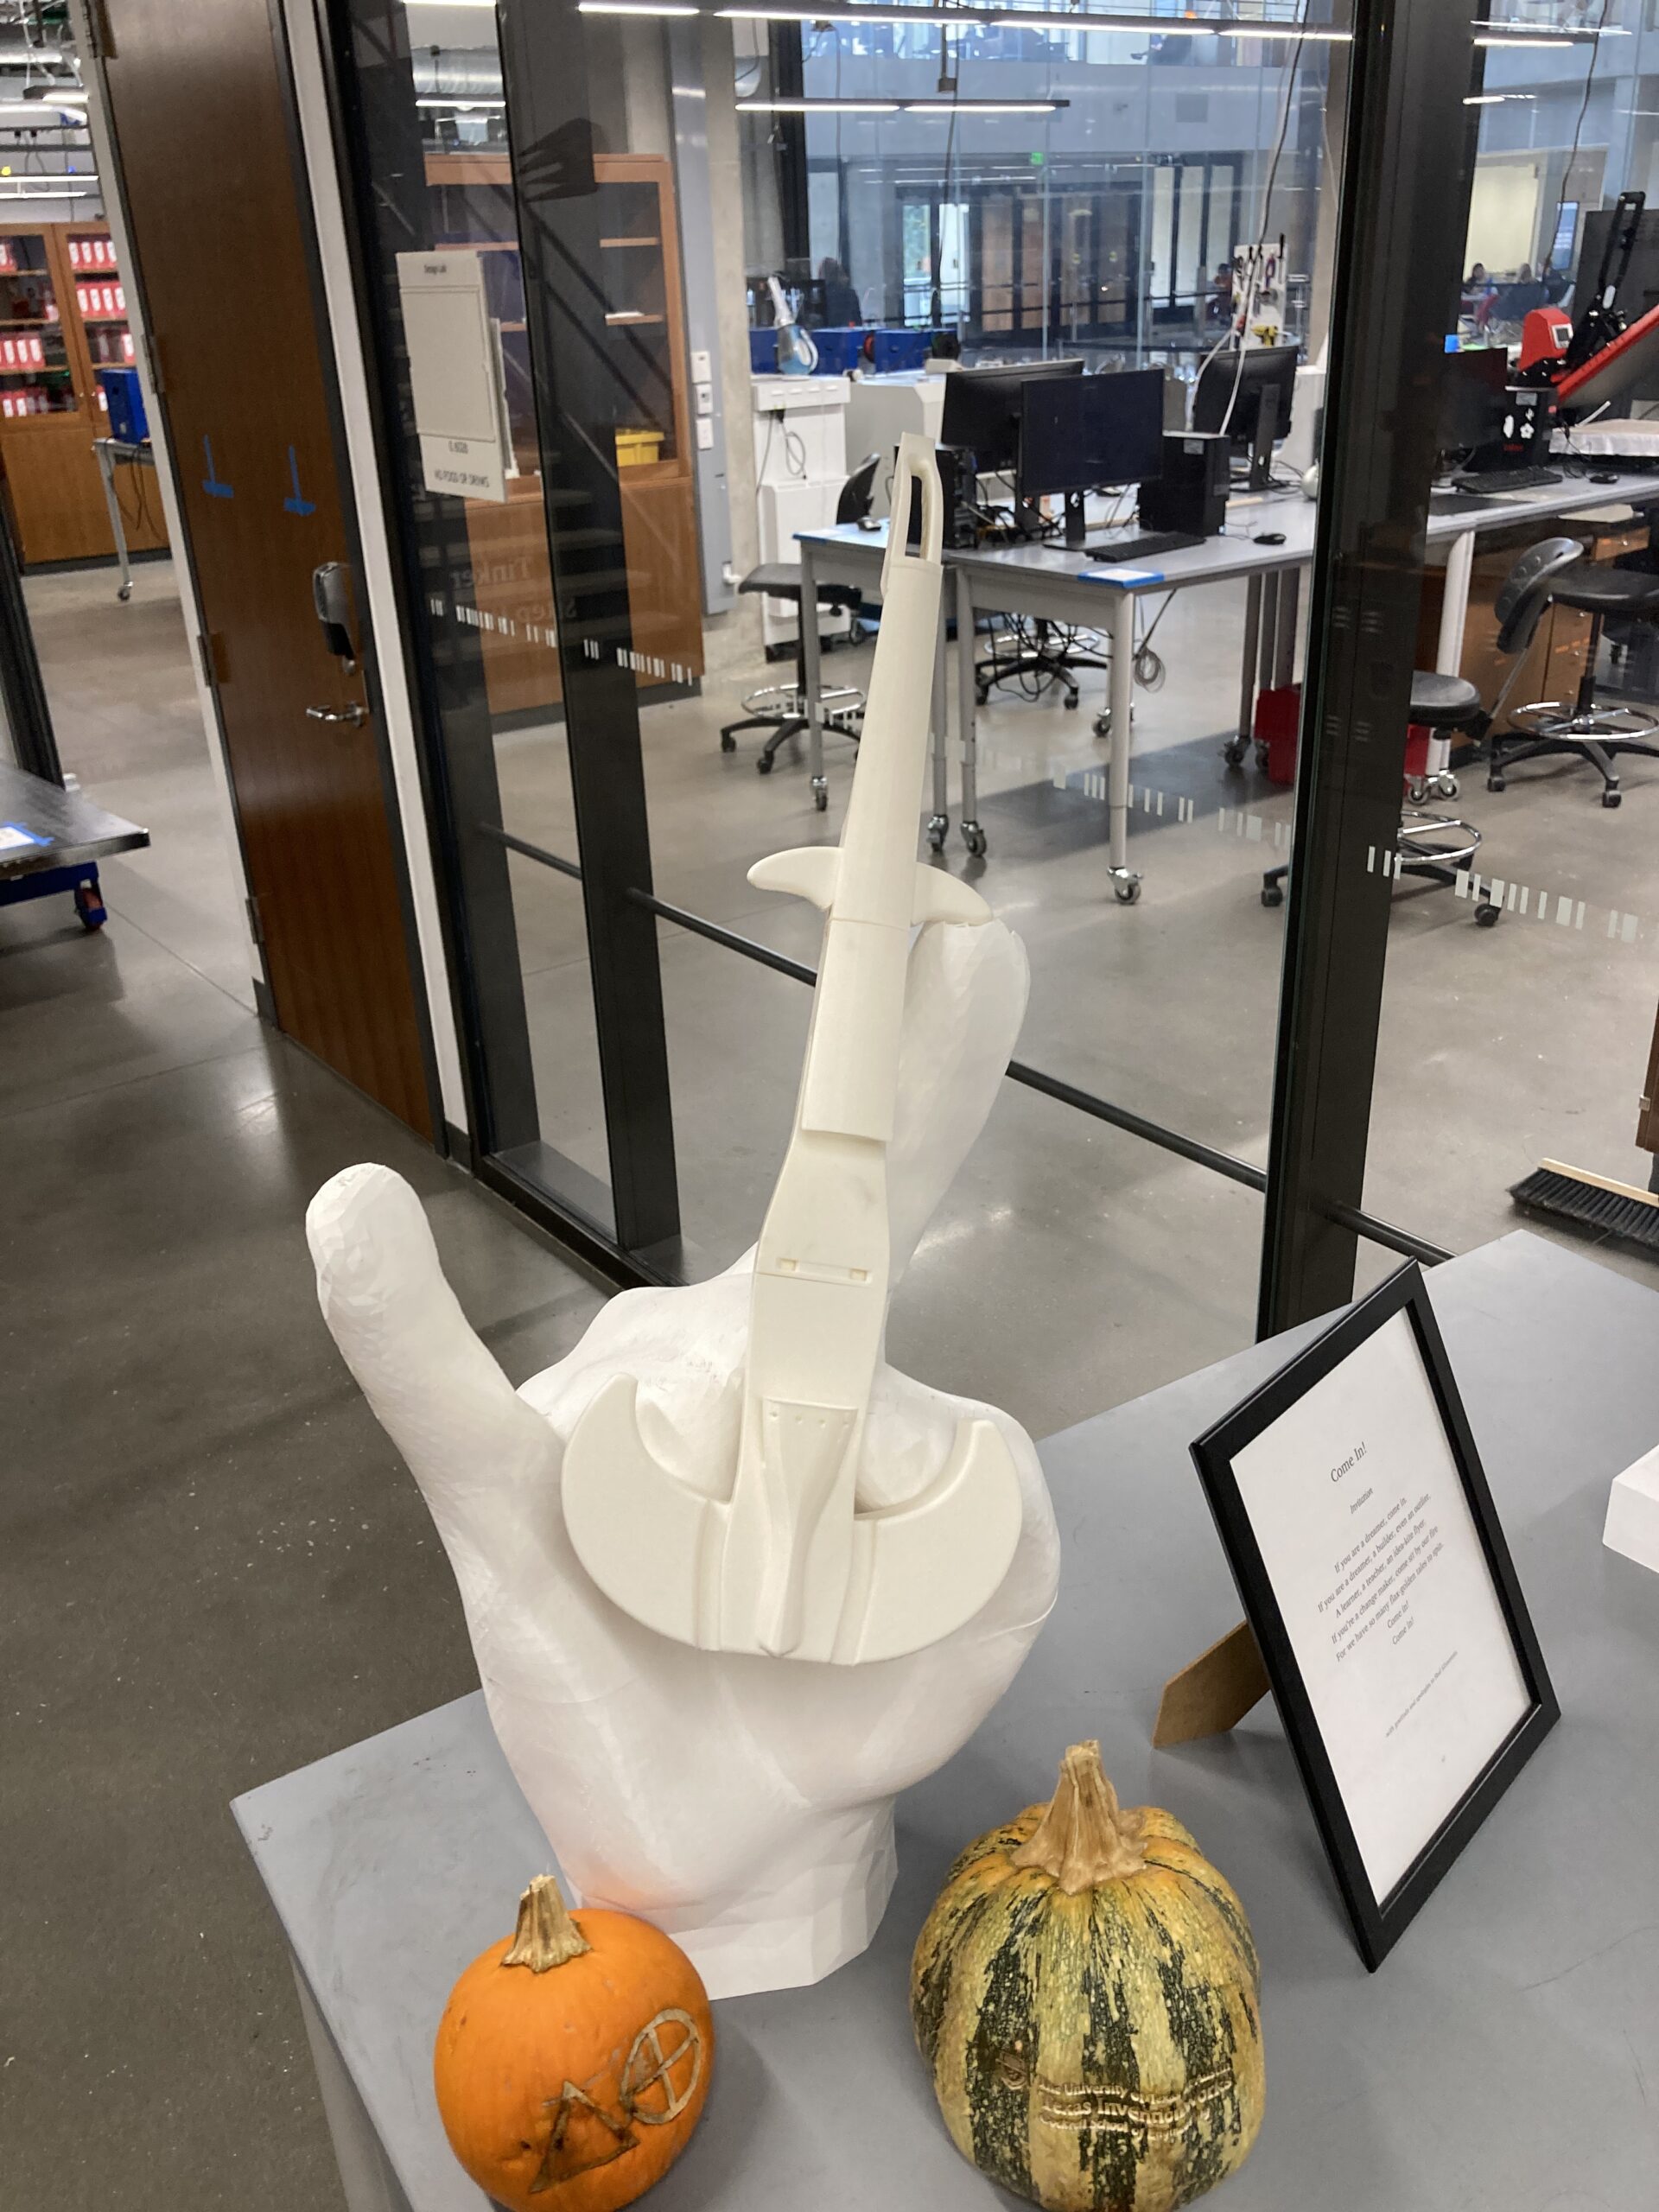
In this final generation, the violin is both printed in nylon using printing and decked out with upgraded components. This violin is identical to the previous iteration, with the only difference being the higher-end pickups and the repair made on the head of the violin. The repair was specific to this generation, as I made an error while re-tolerancing the holes for the guitar pegs and had to reprint the head. To hear the instrument in action, see the video below featuring Jiwoo Park, an Electric and Computer Engineering student at UT Austin!
Upgraded Bill of Materials:
- Printed Parts – ~$1000 (rough quote, but free in this instance thanks to the sponsorship of Texas Inventionworks)
- Steel Rods – $6.63
- D’Addario Steel Strings – $39.98
- Tailpiece, Fine Tuner, Chin Rest Kit – $25.00
- Shoulder Rest – $26.50
- Gold Guitar Tuners – $12.59
- Upgraded Bridge – $12.71 (More expensive than the one I used but comes with grooves)
- Upgraded Violin Pickups (Optional) – $109.90
3rd Generation (Revisions 9 & 10, FDM)
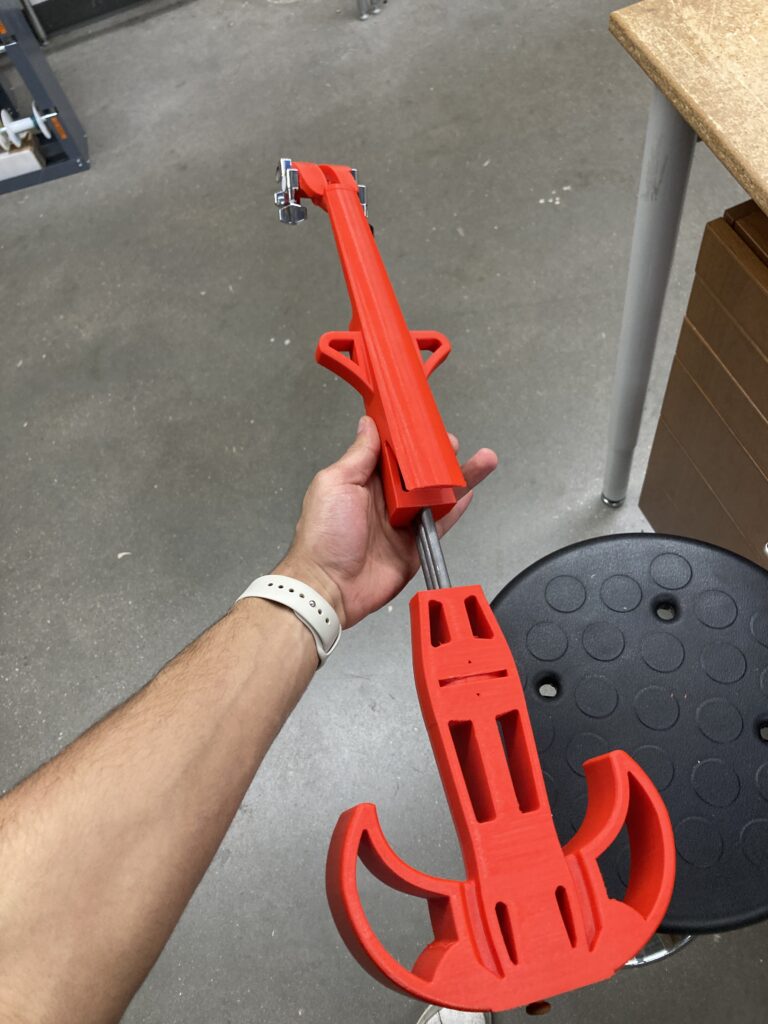
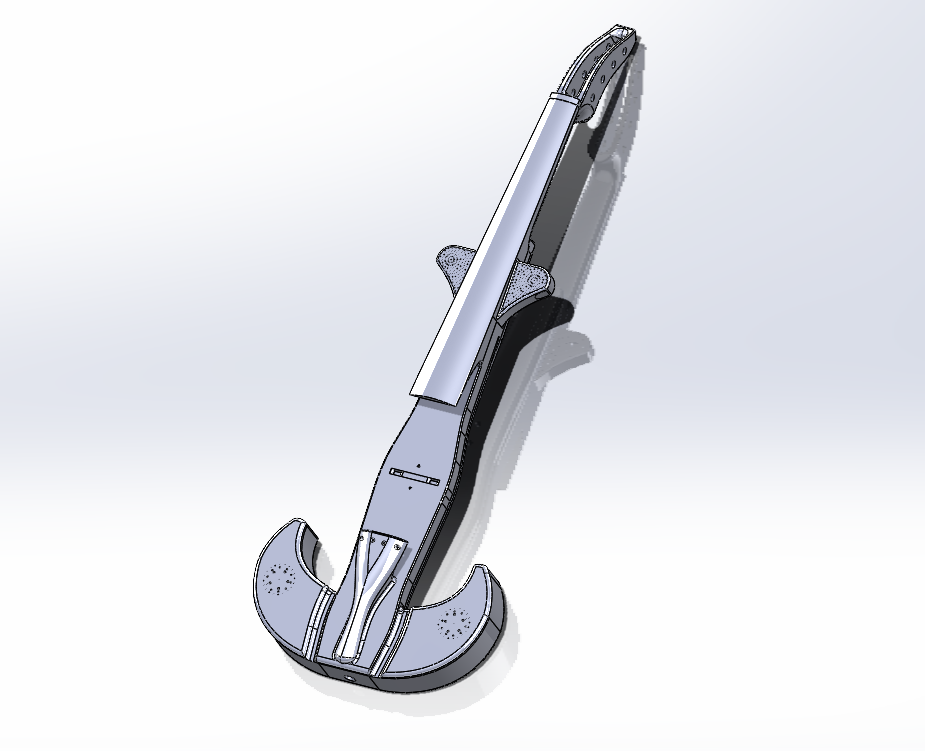
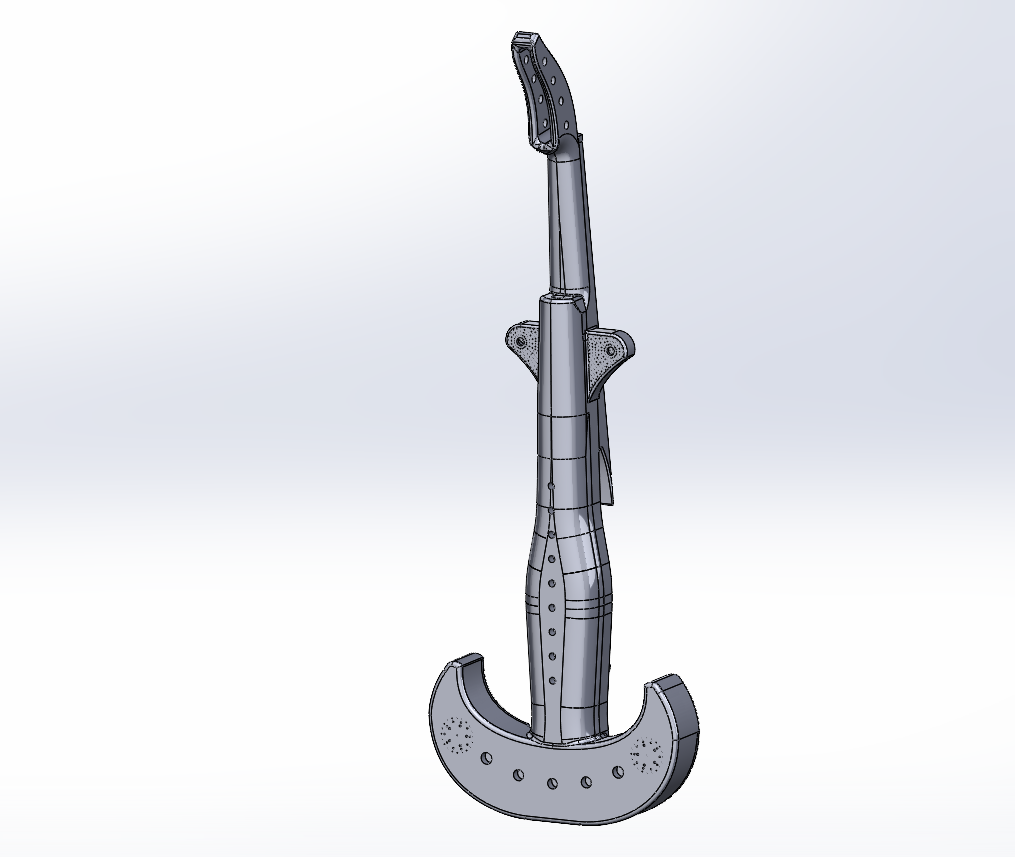
In this generation, the violin is finally playable and has been modified to accept guitar tuners. This version is equipped to be 3D printed in PLA (preferably on a Raise3D Pro 3 Plus) and has all areas dedicated to the bridge, tailpiece, chin rest, and shoulder rest fully defined. This is the violin that will be gifted to my younger brother this Christmas (2022) and I recommend this version for students who want to make a very budget-friendly instrument.
A few notes: apparently the bridges I bought online did not have grooves for the strings, so I had to add them manually. For reference, the G and E strings on the bridge are recommended to be 33 – 33.5 mm spaced apart, which comes out to be about 11.08 mm of separation between each groove after doing some short math. Along with this, I recommend that future versions include a longer steel rod, as I used only the 12” one I had on hand, but it did not fit through the entirety of the violin. I would also recommend using a threaded insert for the tailpiece connection rather than a stock wooden plug like the one I used below.
Besides that, it is a wonderfully sounding violin! and can perfectly be tuned with both the geared guitar tuners at the top and the fine tuners at the bottom.
Bill of Materials:
- Printed Parts – $0 (free at the Texas Inventionworks )
- Steel Rods – $6.63
- Tailpiece, Strings, & Chin Rest – $15.04
- Shoulder Rest – $12.98
- Guitar Tuners – $9.98
- Bridge – $11.74 (More expensive than the one I used but comes with grooves)
- Violin Pickups (Optional) – $80.00
2nd Generation (Revisions 6 – 8)
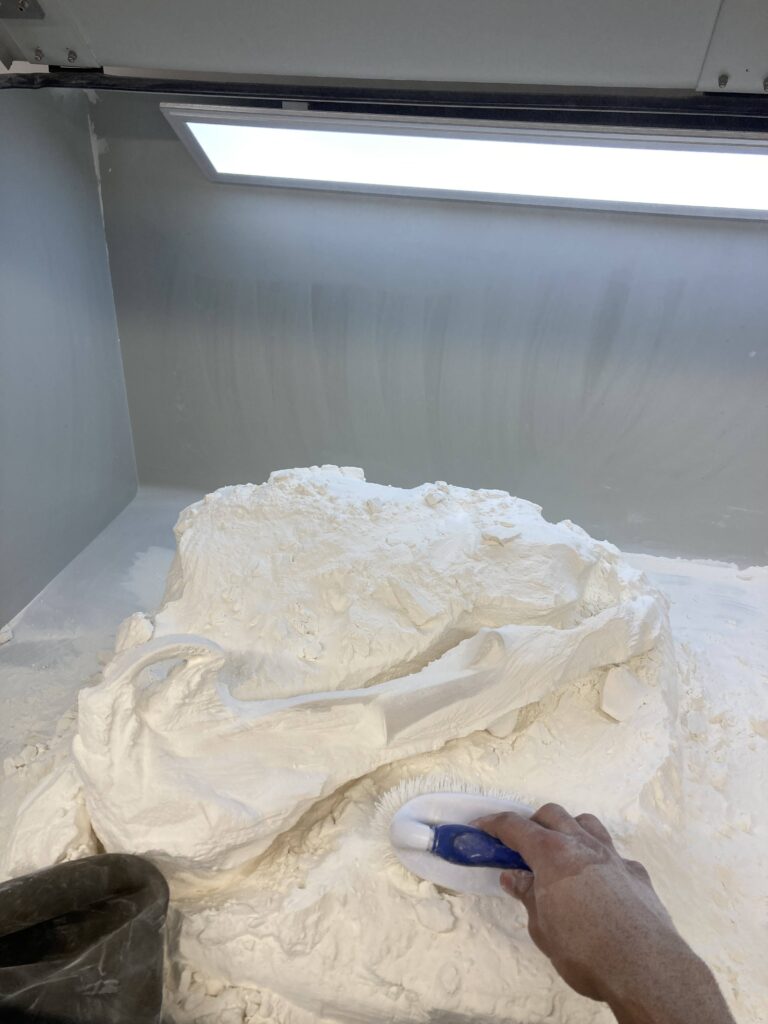
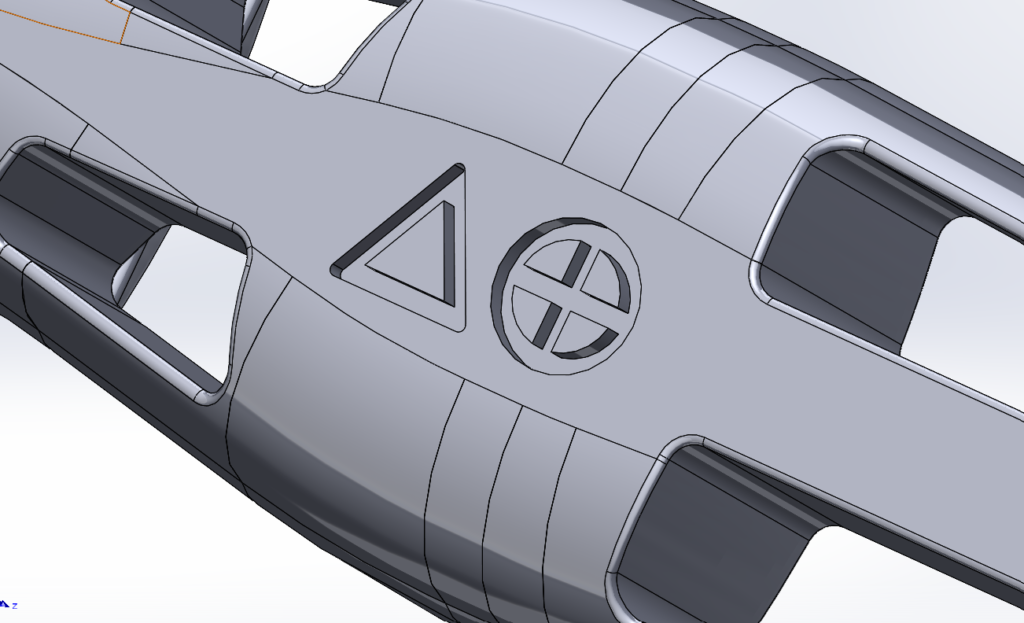
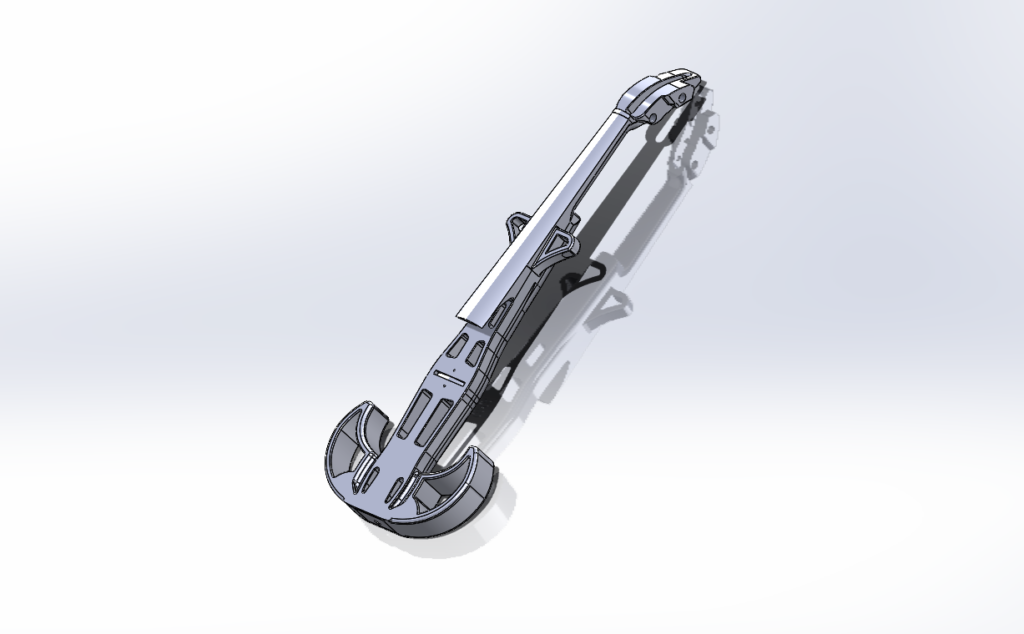
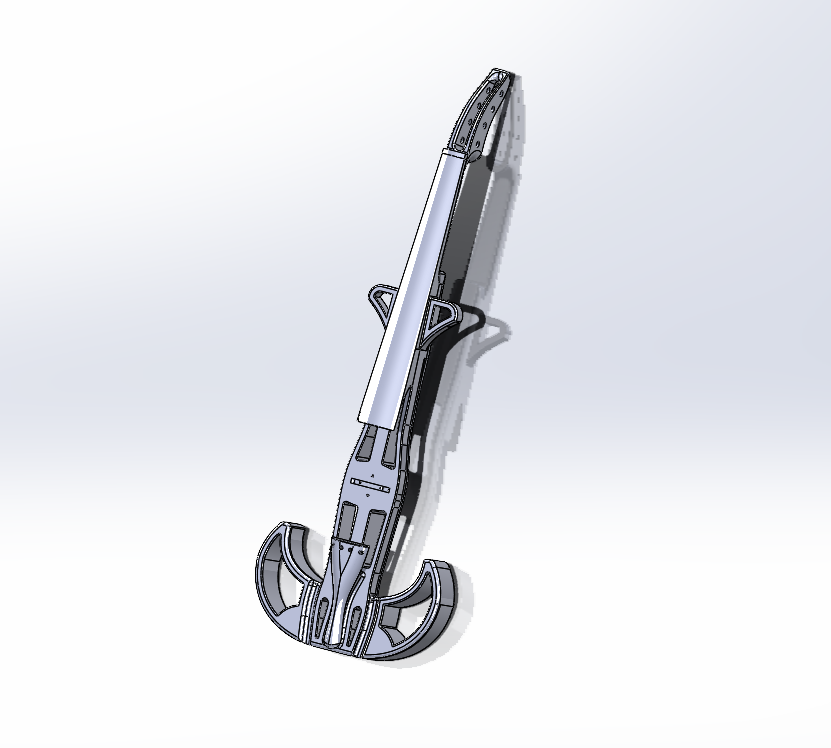
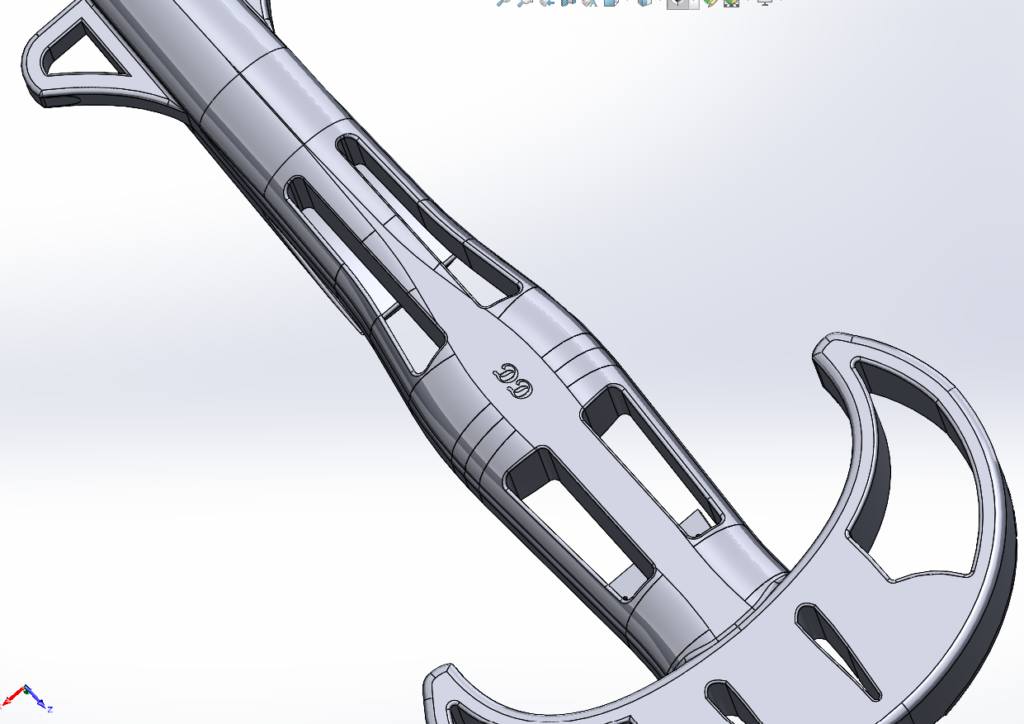
At first, I tried hollowing the body of the violin and then creating an aesthetic hole pattern to both let the sound resonate and to be able to blow out excess powder after SLS printing. After further thought, I figured the best way to optimize the violin would be to focus the load on the torsion rod that runs through the instrument, so I began removing weight where I could.
The next revisions will be focused on adding adjustments to tune the rod, moving the cuts away from the fingerboard, and making sure the hardware fits properly.Bill of Materials:
1st Generation (Revisions 1 – 5)
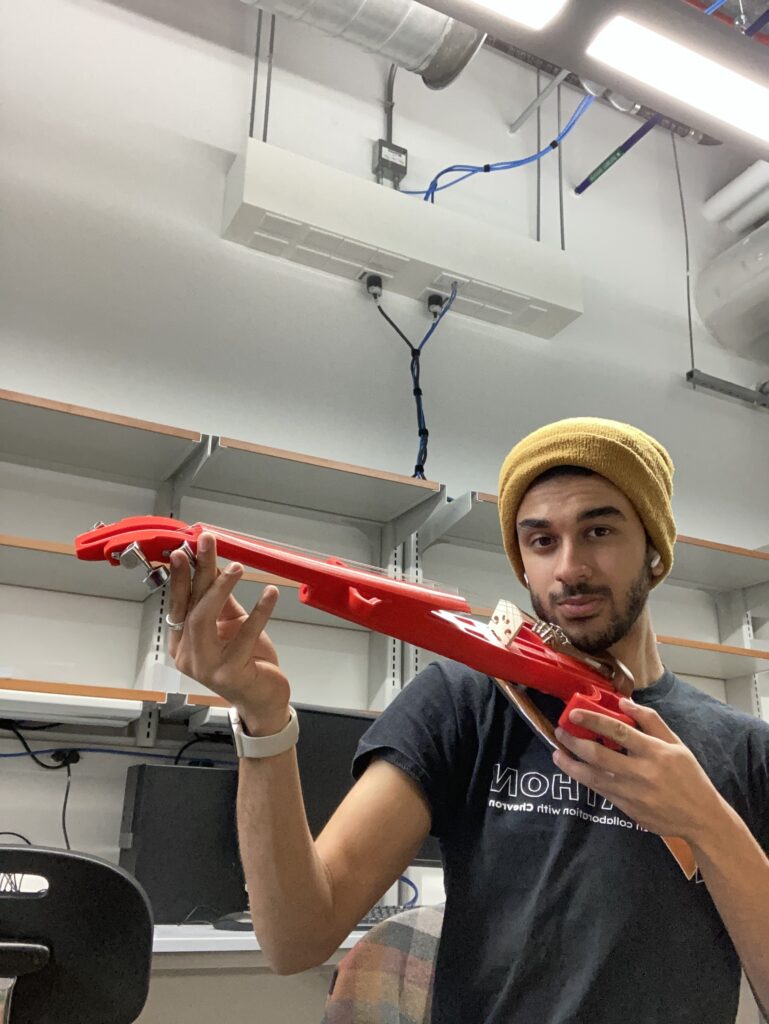
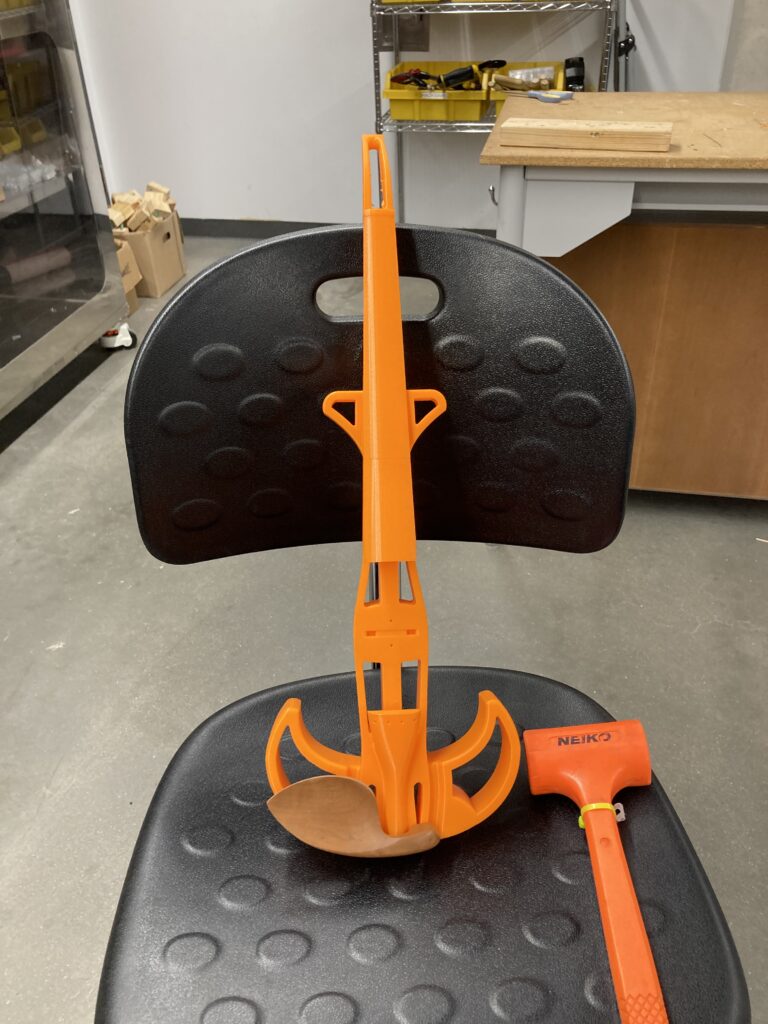
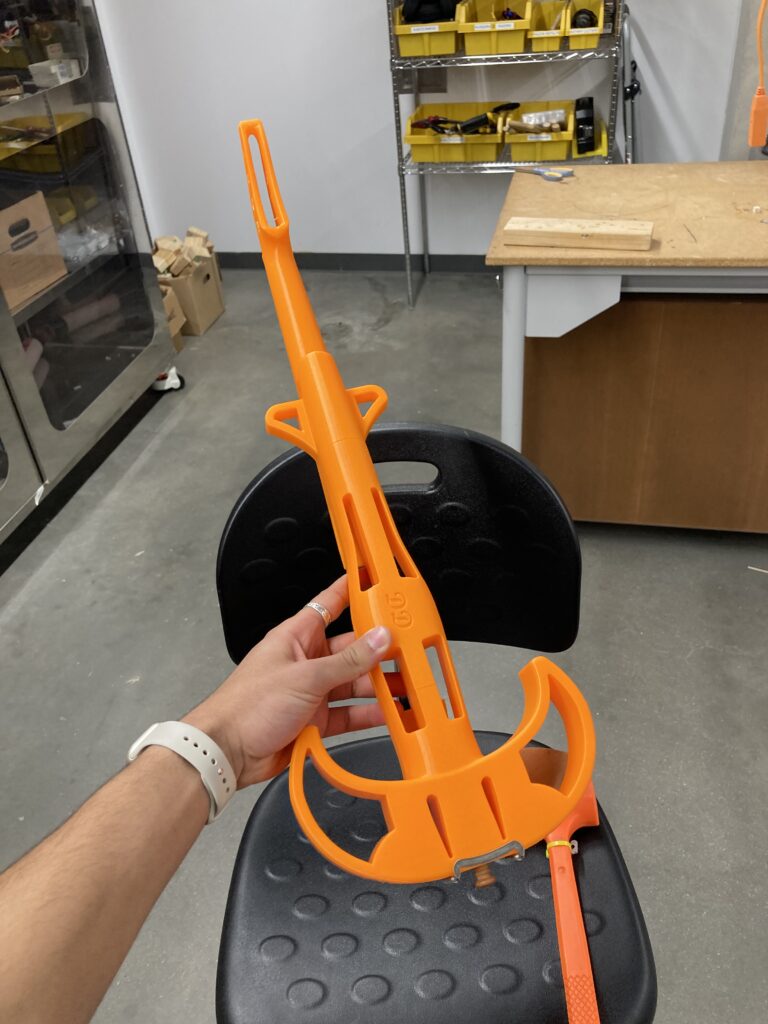
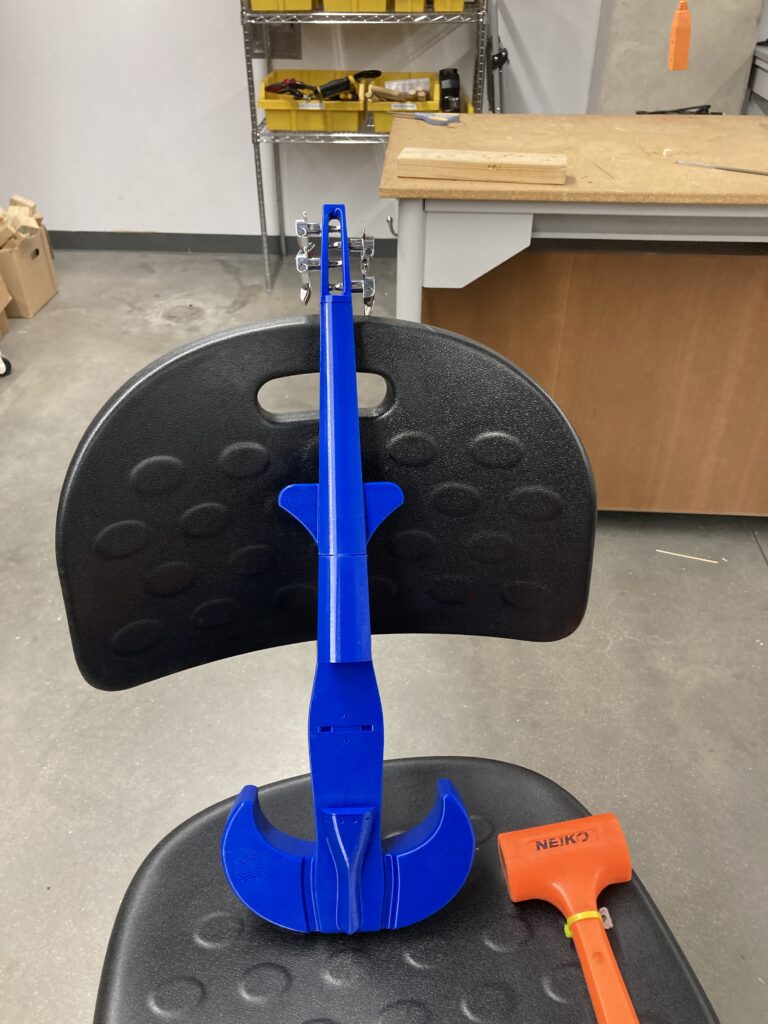
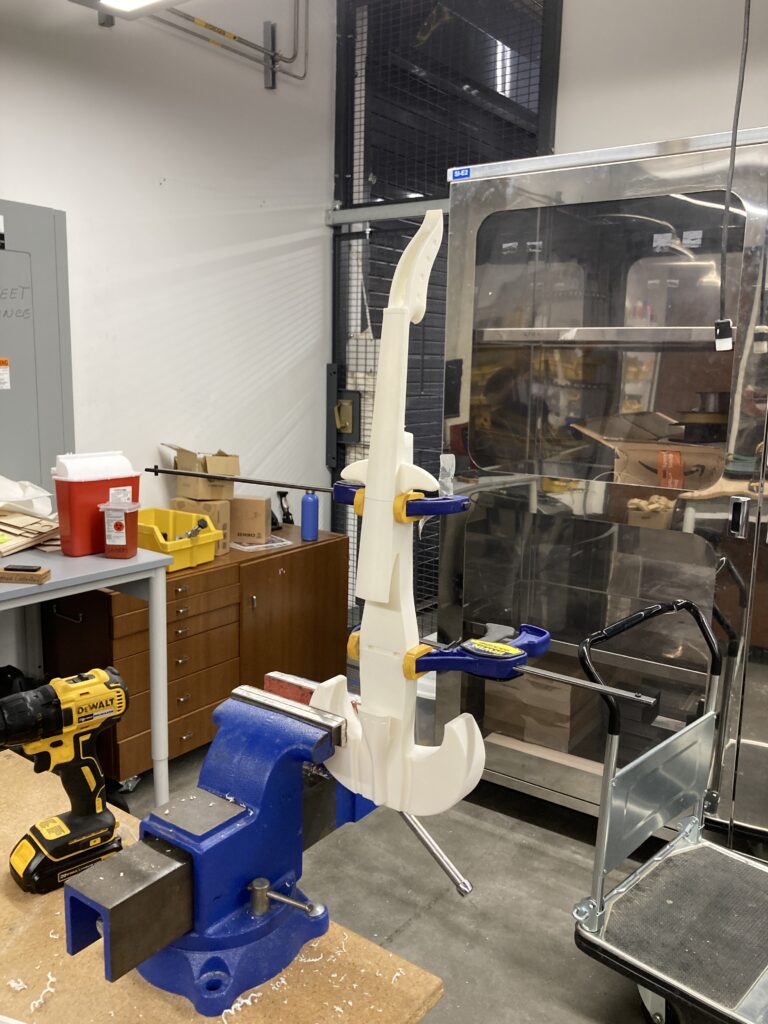
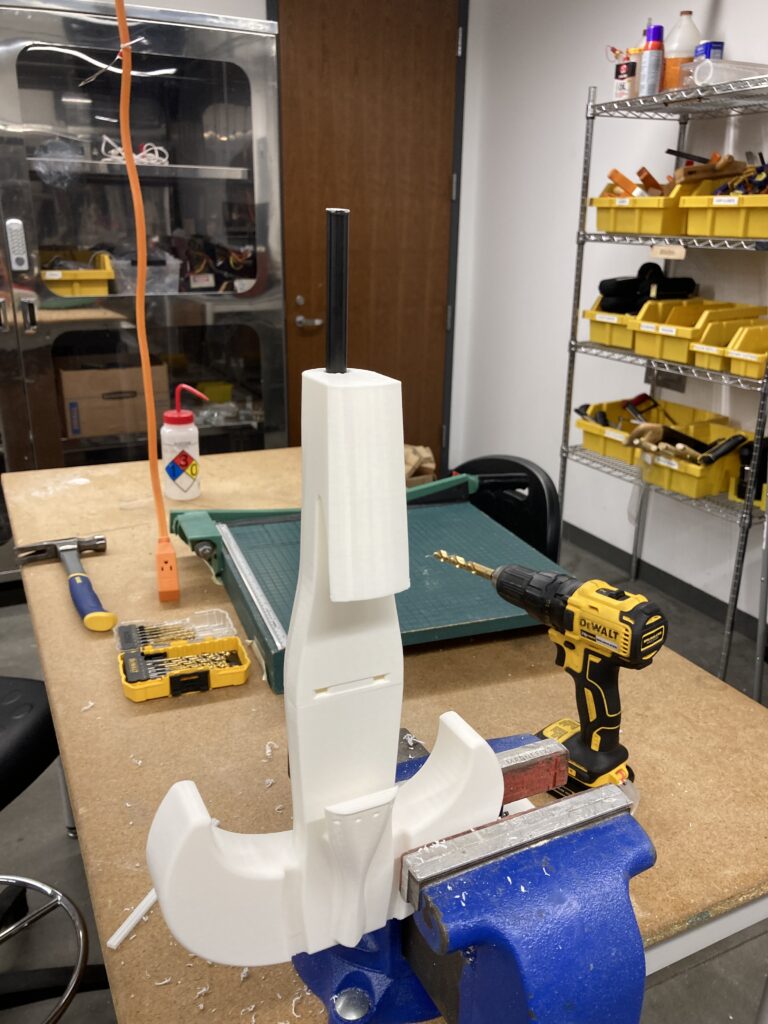
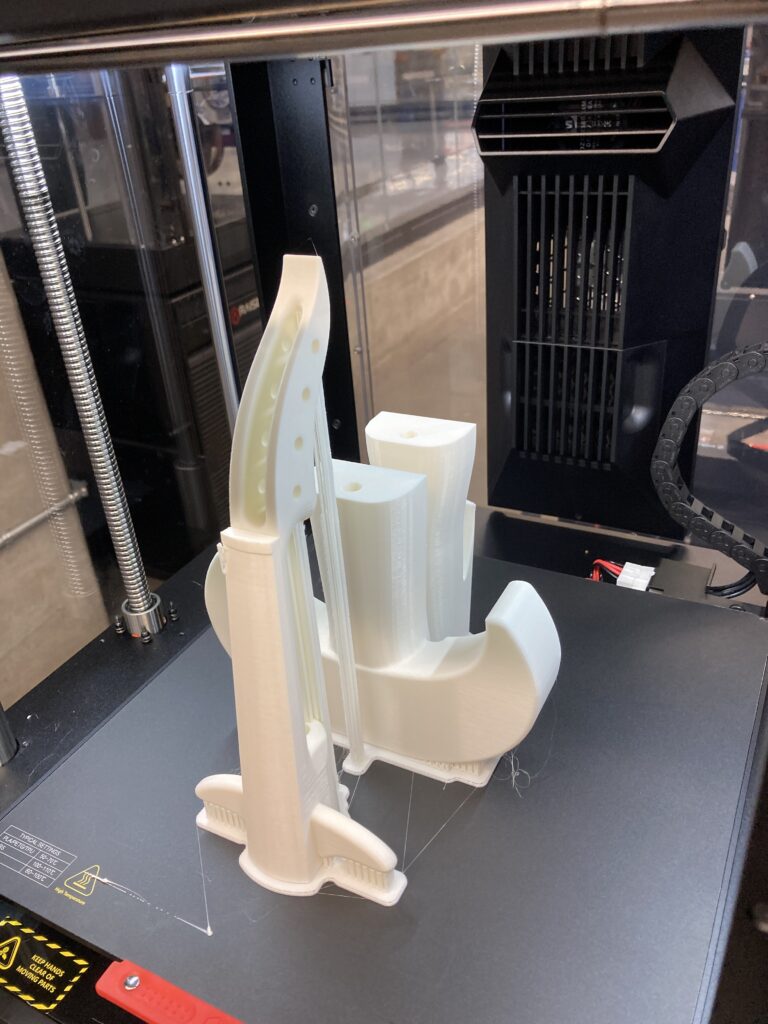
The prototypes are printed on Raise3D Pro3 printers at a .2 mm layer height. The prints came out fairly well but still require adjustments. I need to do tests prints for proper tolerances for the 5/16” steel rod that runs down the back, and now that the general body is finished I need to consider forms of weight reduction for the SLS print.

sls electric violin
Completed in February of 2023
This violin was designed for two purposes:
- As a Christmas gift for my younger brother, Daniel, who is an avid musician in my hometown’s high school orchestra.
- As a cost-effective alternative to traditional violins. The 3rd Generation of the violin is roughly $60 to build (without pickups), while an electric equivalent is roughly $140. I hope this will make music more accessible to students in the future!
all of my modeling was done in Solidworks and it is completely finished for FDM and SLS printing alongside being fully playable and capable of being rigged with pickups!
It was also ranked as an honorary mention in the musical instruments competition on printable.com!
4th Generation (SLS Version + Upgraded)
In this final generation, the violin is both printed in nylon using printing and decked out with upgraded components. This violin is identical to the previous iteration, with the only difference being the higher-end pickups and the repair made on the head of the violin. The repair was specific to this generation, as I made an error while re-tolerancing the holes for the guitar pegs and had to reprint the head. To hear the instrument in action, see the video below featuring Jiwoo Park, an Electric and Computer Engineering student at UT Austin!
Upgraded Bill of Materials:
- Printed Parts – ~$1000 (rough quote, but free in this instance thanks to the sponsorship of Texas Inventionworks)
- Steel Rods – $6.63
- D’Addario Steel Strings – $39.98
- Tailpiece, Fine Tuner, Chin Rest Kit – $25.00
- Shoulder Rest – $26.50
- Gold Guitar Tuners – $12.59
- Upgraded Bridge – $12.71 (More expensive than the one I used but comes with grooves)
- Upgraded Violin Pickups (Optional) – $109.90


3rd Generation (Revisions 9 & 10, FDM)
In this generation, the violin is finally playable and has been modified to accept guitar tuners. This version is equipped to be 3D printed in PLA (preferably on a Raise3D Pro 3 Plus) and has all areas dedicated to the bridge, tailpiece, chin rest, and shoulder rest fully defined. This is the violin that will be gifted to my younger brother this Christmas (2022) and I recommend this version for students who want to make a very budget-friendly instrument.
A few notes: apparently the bridges I bought online did not have grooves for the strings, so I had to add them manually. For reference, the G and E strings on the bridge are recommended to be 33 – 33.5 mm spaced apart, which comes out to be about 11.08 mm of separation between each groove after doing some short math. Along with this, I recommend that future versions include a longer steel rod, as I used only the 12” one I had on hand, but it did not fit through the entirety of the violin. I would also recommend using a threaded insert for the tailpiece connection rather than a stock wooden plug like the one I used below.
Besides that, it is a wonderfully sounding violin! and can perfectly be tuned with both the geared guitar tuners at the top and the fine tuners at the bottom.
Bill of Materials:
- Printed Parts – $0 (free at the Texas Inventionworks )
- Steel Rods – $6.63
- Tailpiece, Strings, & Chin Rest – $15.04
- Shoulder Rest – $12.98
- Guitar Tuners – $9.98
- Bridge – $11.74 (More expensive than the one I used but comes with grooves)
- Violin Pickups (Optional) – $80.00


2nd Generation (Revisions 6 – 8)
At first, I tried hollowing the body of the violin and then creating an aesthetic hole pattern to both let the sound resonate and to be able to blow out excess powder after SLS printing. After further thought, I figured the best way to optimize the violin would be to focus the load on the torsion rod that runs through the instrument, so I began removing weight where I could.
The next revisions will be focused on adding adjustments to tune the rod, moving the cuts away from the fingerboard, and making sure the hardware fits properly.Bill of Materials:


1st Generation (Revisions 1 – 5)
The prototypes are printed on Raise3D Pro3 printers at a .2 mm layer height. The prints came out fairly well but still require adjustments. I need to do tests prints for proper tolerances for the 5/16” steel rod that runs down the back, and now that the general body is finished I need to consider forms of weight reduction for the SLS print.


